Oxidized headlights are one of the most common — and most underestimated — issues on older vehicles. They don't just look bad; they're a genuine safety problem. Severely hazed headlights can reduce light output by up to 80%, which at highway speeds translates directly into reduced reaction time.
This particular set came off a 2019 Audi A4. The car had been sitting outside its entire life, and the UV degradation on the polycarbonate lenses was severe — thick, chalky oxidation that made them look like frosted glass. The owner had tried a few gas-station restoration kits with no lasting results.
"I'd tried two different kits from the auto parts store. They looked better for about three weeks, then went right back to the same foggy mess."
This is exactly the problem with those kits — they sand lightly and apply a thin, UV-unstable coating that fails quickly. A proper restoration requires taking the lens back to a clean substrate and protecting it correctly.
Why Headlights Oxidize
Modern headlight lenses are made from polycarbonate plastic — a lightweight, impact-resistant material that replaced glass years ago. The problem is that polycarbonate is naturally UV-sensitive. Manufacturers apply a thin UV-resistant clear coat at the factory, but this layer degrades over time from sun exposure, heat cycles, and environmental contaminants.
Once that factory coating fails, the polycarbonate oxidizes rapidly. You'll see it progress from a slight yellowing, to a dull haze, to full opaque oxidation. No amount of cleaning or quick-fix polishing will fix advanced oxidation — you need to remove the damaged material.
The Restoration Process
Our process has four stages: masking and prep, wet sanding, machine polishing, and sealing. Each stage builds on the last, and skipping or rushing any one of them will compromise the result.
Stage 1: Masking
We mask off all the surrounding paintwork and trim with tape and plastic sheeting. This protects the paint during the wet sanding stage — the abrasive paper and water can easily scratch surrounding panels if you're not careful.
Stage 2: Wet Sanding
This is where the real work happens. We start with 600-grit wet/dry paper to cut through the heavy oxidation layer. Once the major oxidation is removed and the lens has a uniform matte appearance, we progress through 800, 1000, 1500, and 2000 grit — each stage removing the scratches left by the previous one. By 2000 grit, the lens should look uniformly hazy with a tight scratch pattern.
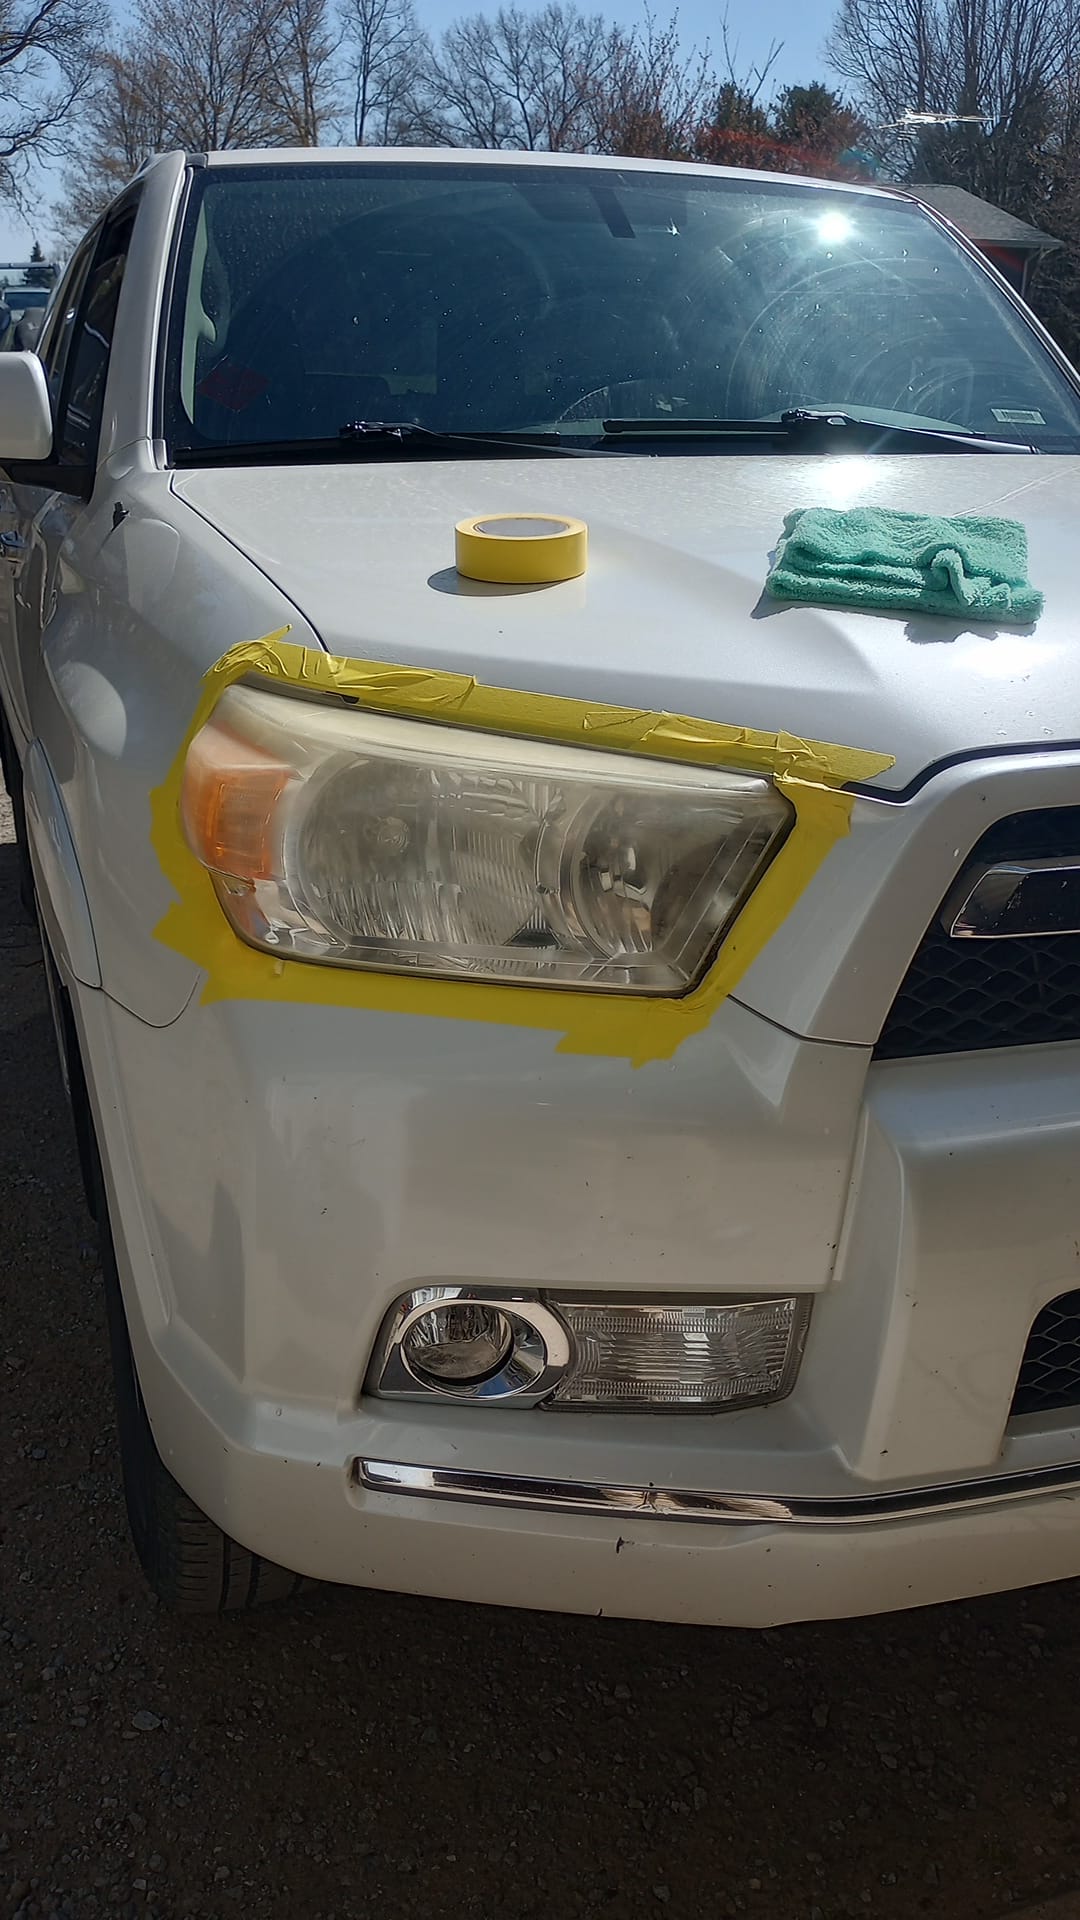
The before state: severe oxidation throughout the lens, not just on the surface.
Stage 3: Machine Polishing
After sanding, we move to the machine polisher. Starting with a cutting compound on a foam pad, we work through progressively finer compounds until we reach a finishing polish. This removes all the sanding scratches and brings clarity and gloss back to the polycarbonate.
The transformation at this stage is dramatic — the lens goes from a white, opaque haze to a clear, glossy surface in minutes. This is also the stage where the quality of your products and technique shows.
Stage 4: UV Sealant Application
This is the critical step that the kit-restoration crowd gets wrong. Without a proper UV-resistant topcoat, the polycarbonate will re-oxidize in weeks to months. We apply a professional-grade UV sealant in multiple thin coats, allowing proper cure time between applications.
A properly applied UV sealant will protect the lens for 2–4 years depending on the vehicle's exposure and parking conditions.
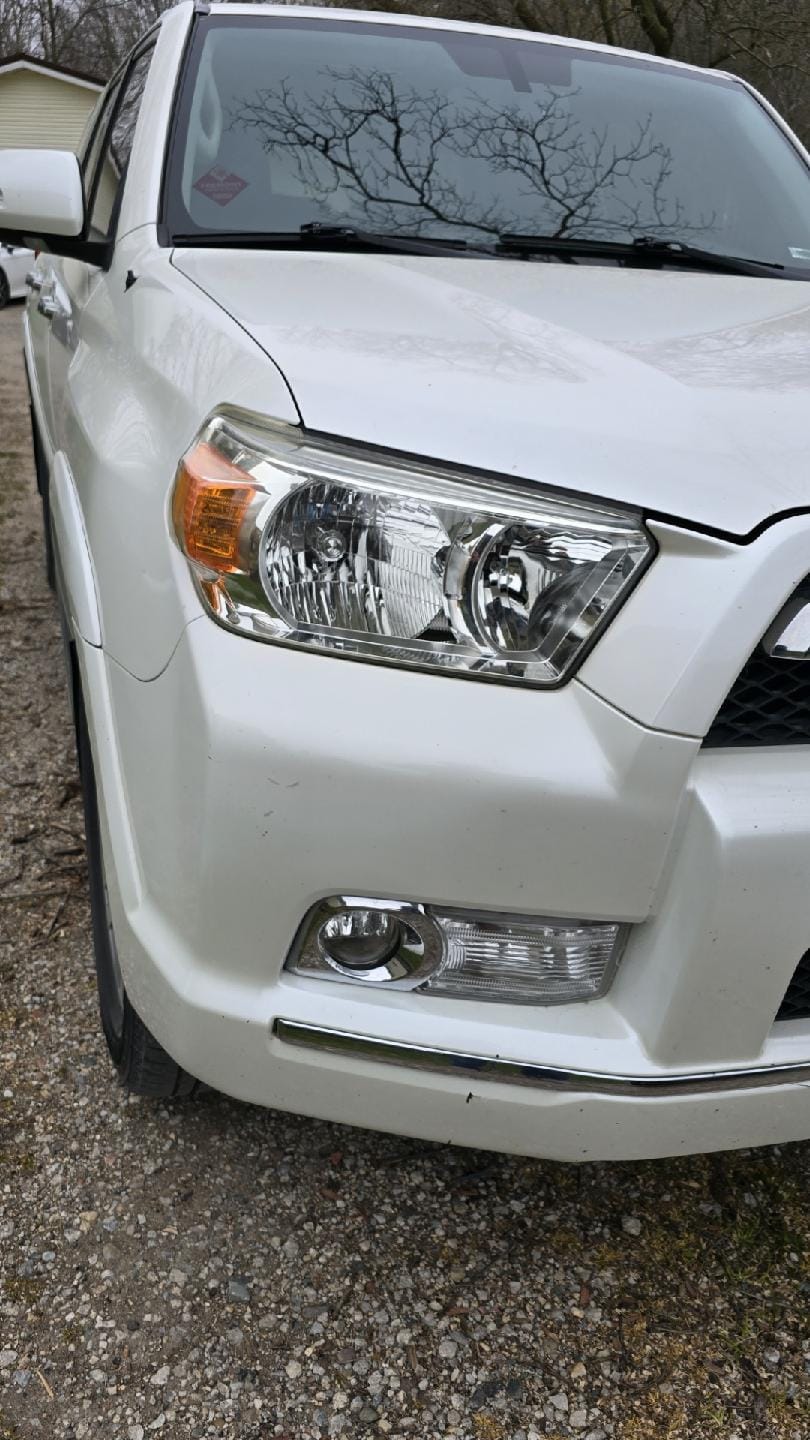
The finished result: optically clear, properly sealed, back to factory appearance.
Cost vs. Replacement
OEM headlight assemblies for this particular Audi run $400–$600 per side from the dealer, or $150–$300 for aftermarket units. Professional restoration at $80–$150 total is a fraction of that, and the result is indistinguishable from new — often better, since we're applying a superior UV coating.
The only time replacement makes more sense than restoration is when there's internal fogging (condensation inside the lens seal), cracking or physical damage to the housing, or when the lens itself has been sanded too thin from repeated amateur attempts.
How Long Does It Last?
With a professional UV sealant properly applied, results typically last 2–4 years. Vehicles parked outdoors in high-UV environments (Arizona, Florida, etc.) will be toward the lower end. Garaged vehicles in northern climates can see results lasting 5+ years.
We recommend a light polish and re-seal every 2–3 years as preventive maintenance to avoid ever getting back to severe oxidation.
If your headlights are looking hazy, yellowed, or just dim, don't wait. The longer oxidation progresses, the more material needs to be removed — and there's a finite amount of polycarbonate you can work with before replacement becomes the only option.
Headlight restoration is one of our most cost-effective services, and the visual improvement is immediate and dramatic. Reach out if you have questions, or book directly below.